I really hate to throw things out when I just know there is something I can create with it (yes, that does mean I'm a packrat!).
One of the things I find myself storing away is bubble wrap — which doubles as a noisy kid distraction on occasion.
But this time, I decided it was time to try some quieter bubble wrap fun: bubble wrap painting!
It turns out that bubble wrap painting is super fun and easy and — a big bonus for me! — completed at a much lower decibel level than my kids' usual bubble wrap play.
Plus, now is the perfect time to break out the bubble wrap because National Bubble Wrap Day (yes, that's really a thing!) is January 28th. It's also good timing because bubble wrap paintings make super cute and unique valentines for your kids to create!
What you need:
- Bubble wrap — experiment with different sizes!
- Scissors
- Paint
- Paper
- Markers
How to do it:
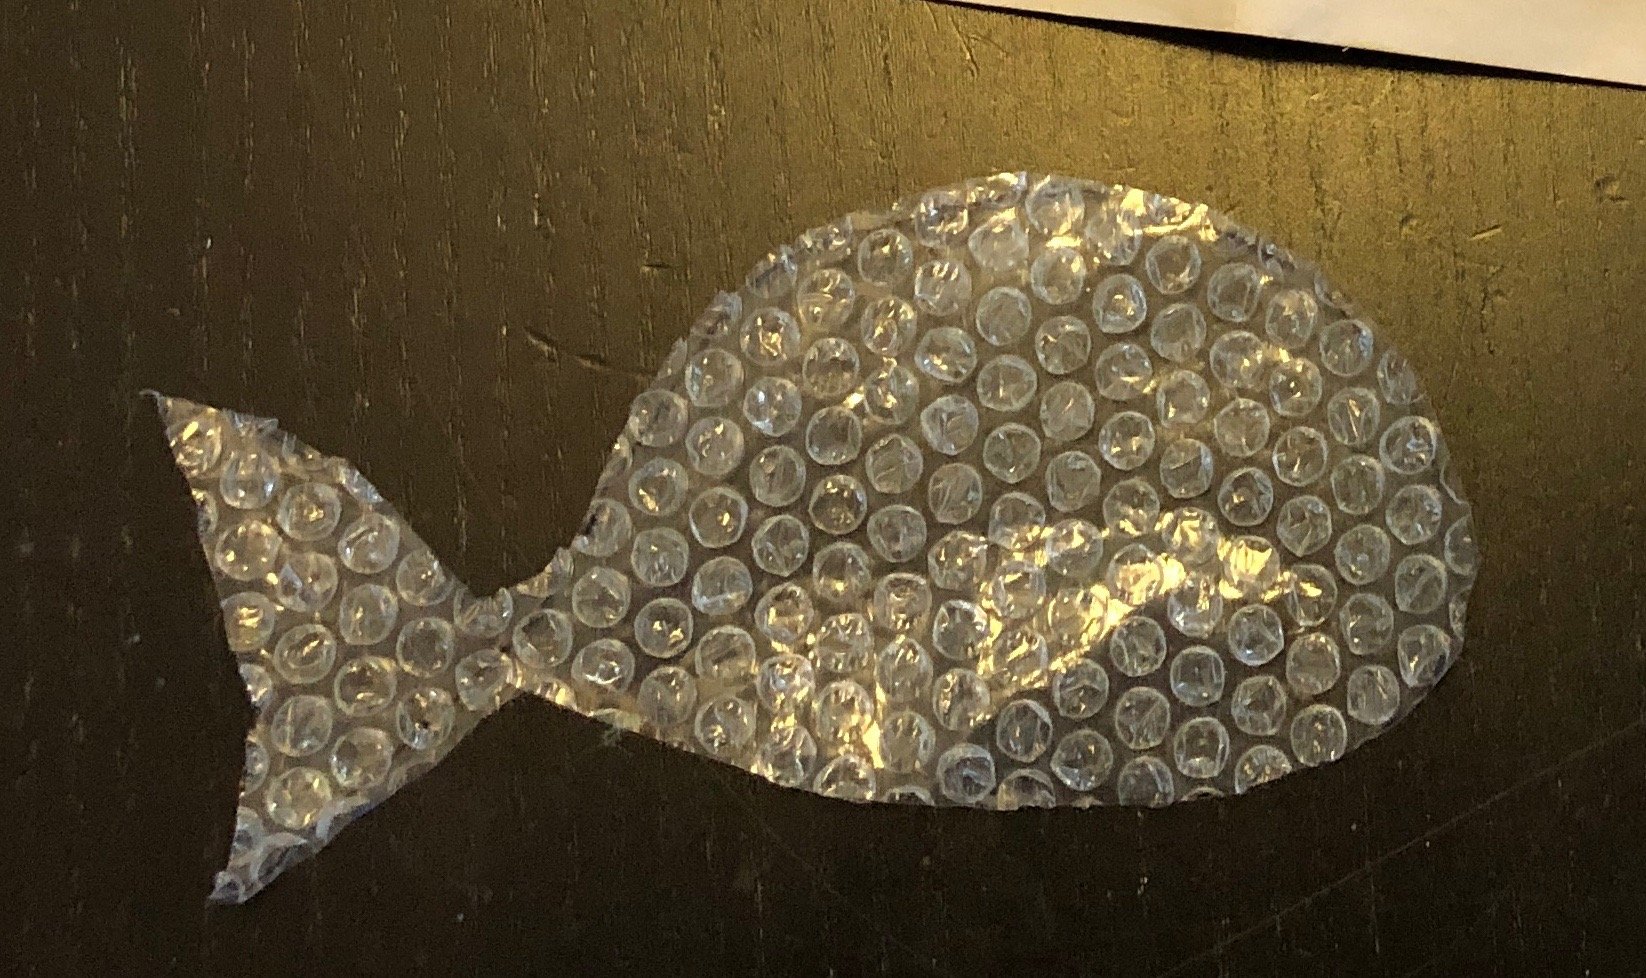
1. Cut a shape from the bubble wrap
Fairly simple shapes are easiest! Once you have decided on your design, you can either freehand it or cut it out on a piece of paper and then use that to trace around your bubble wrap to make sure you don't make a mistake.
2. Lay out the bubble wrap
Once you have the shapes of bubble wrap cut, place them on the material you want to use for your project to decide how you want it to look. I used cardstock, but you could do this on construction paper, canvas, or even on fabric (T-shirt, anyone?)
3. Start painting!
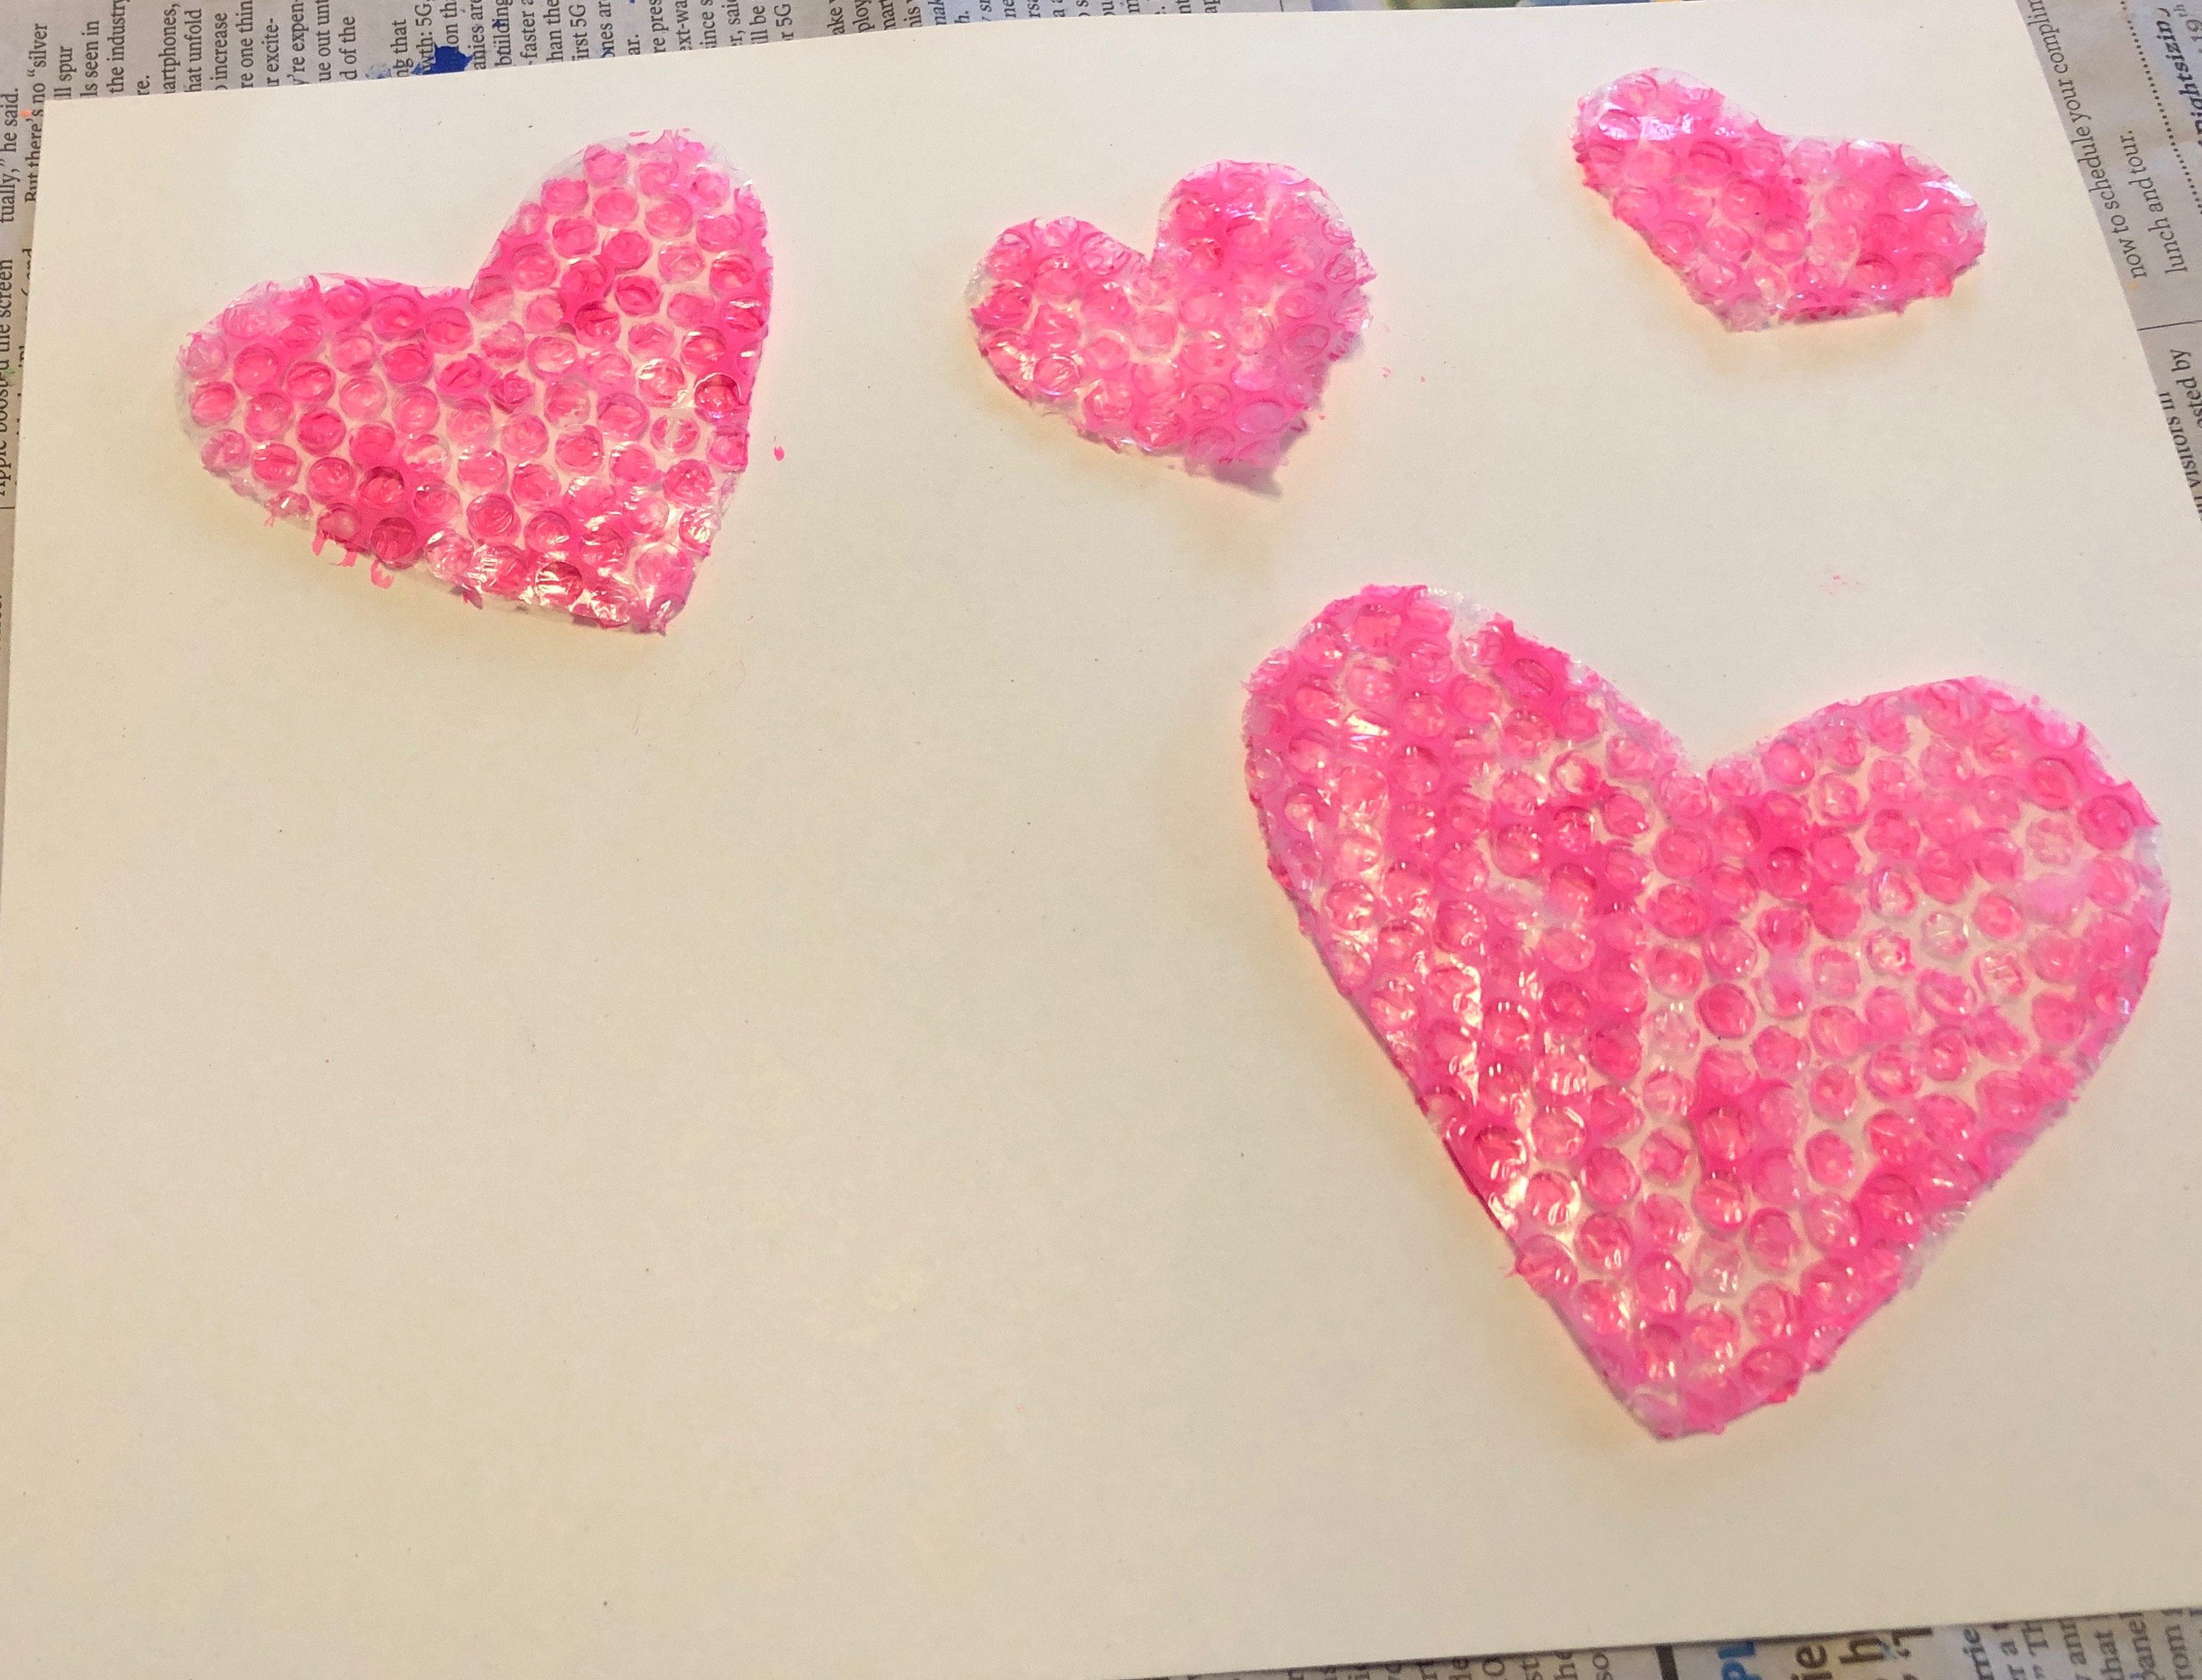
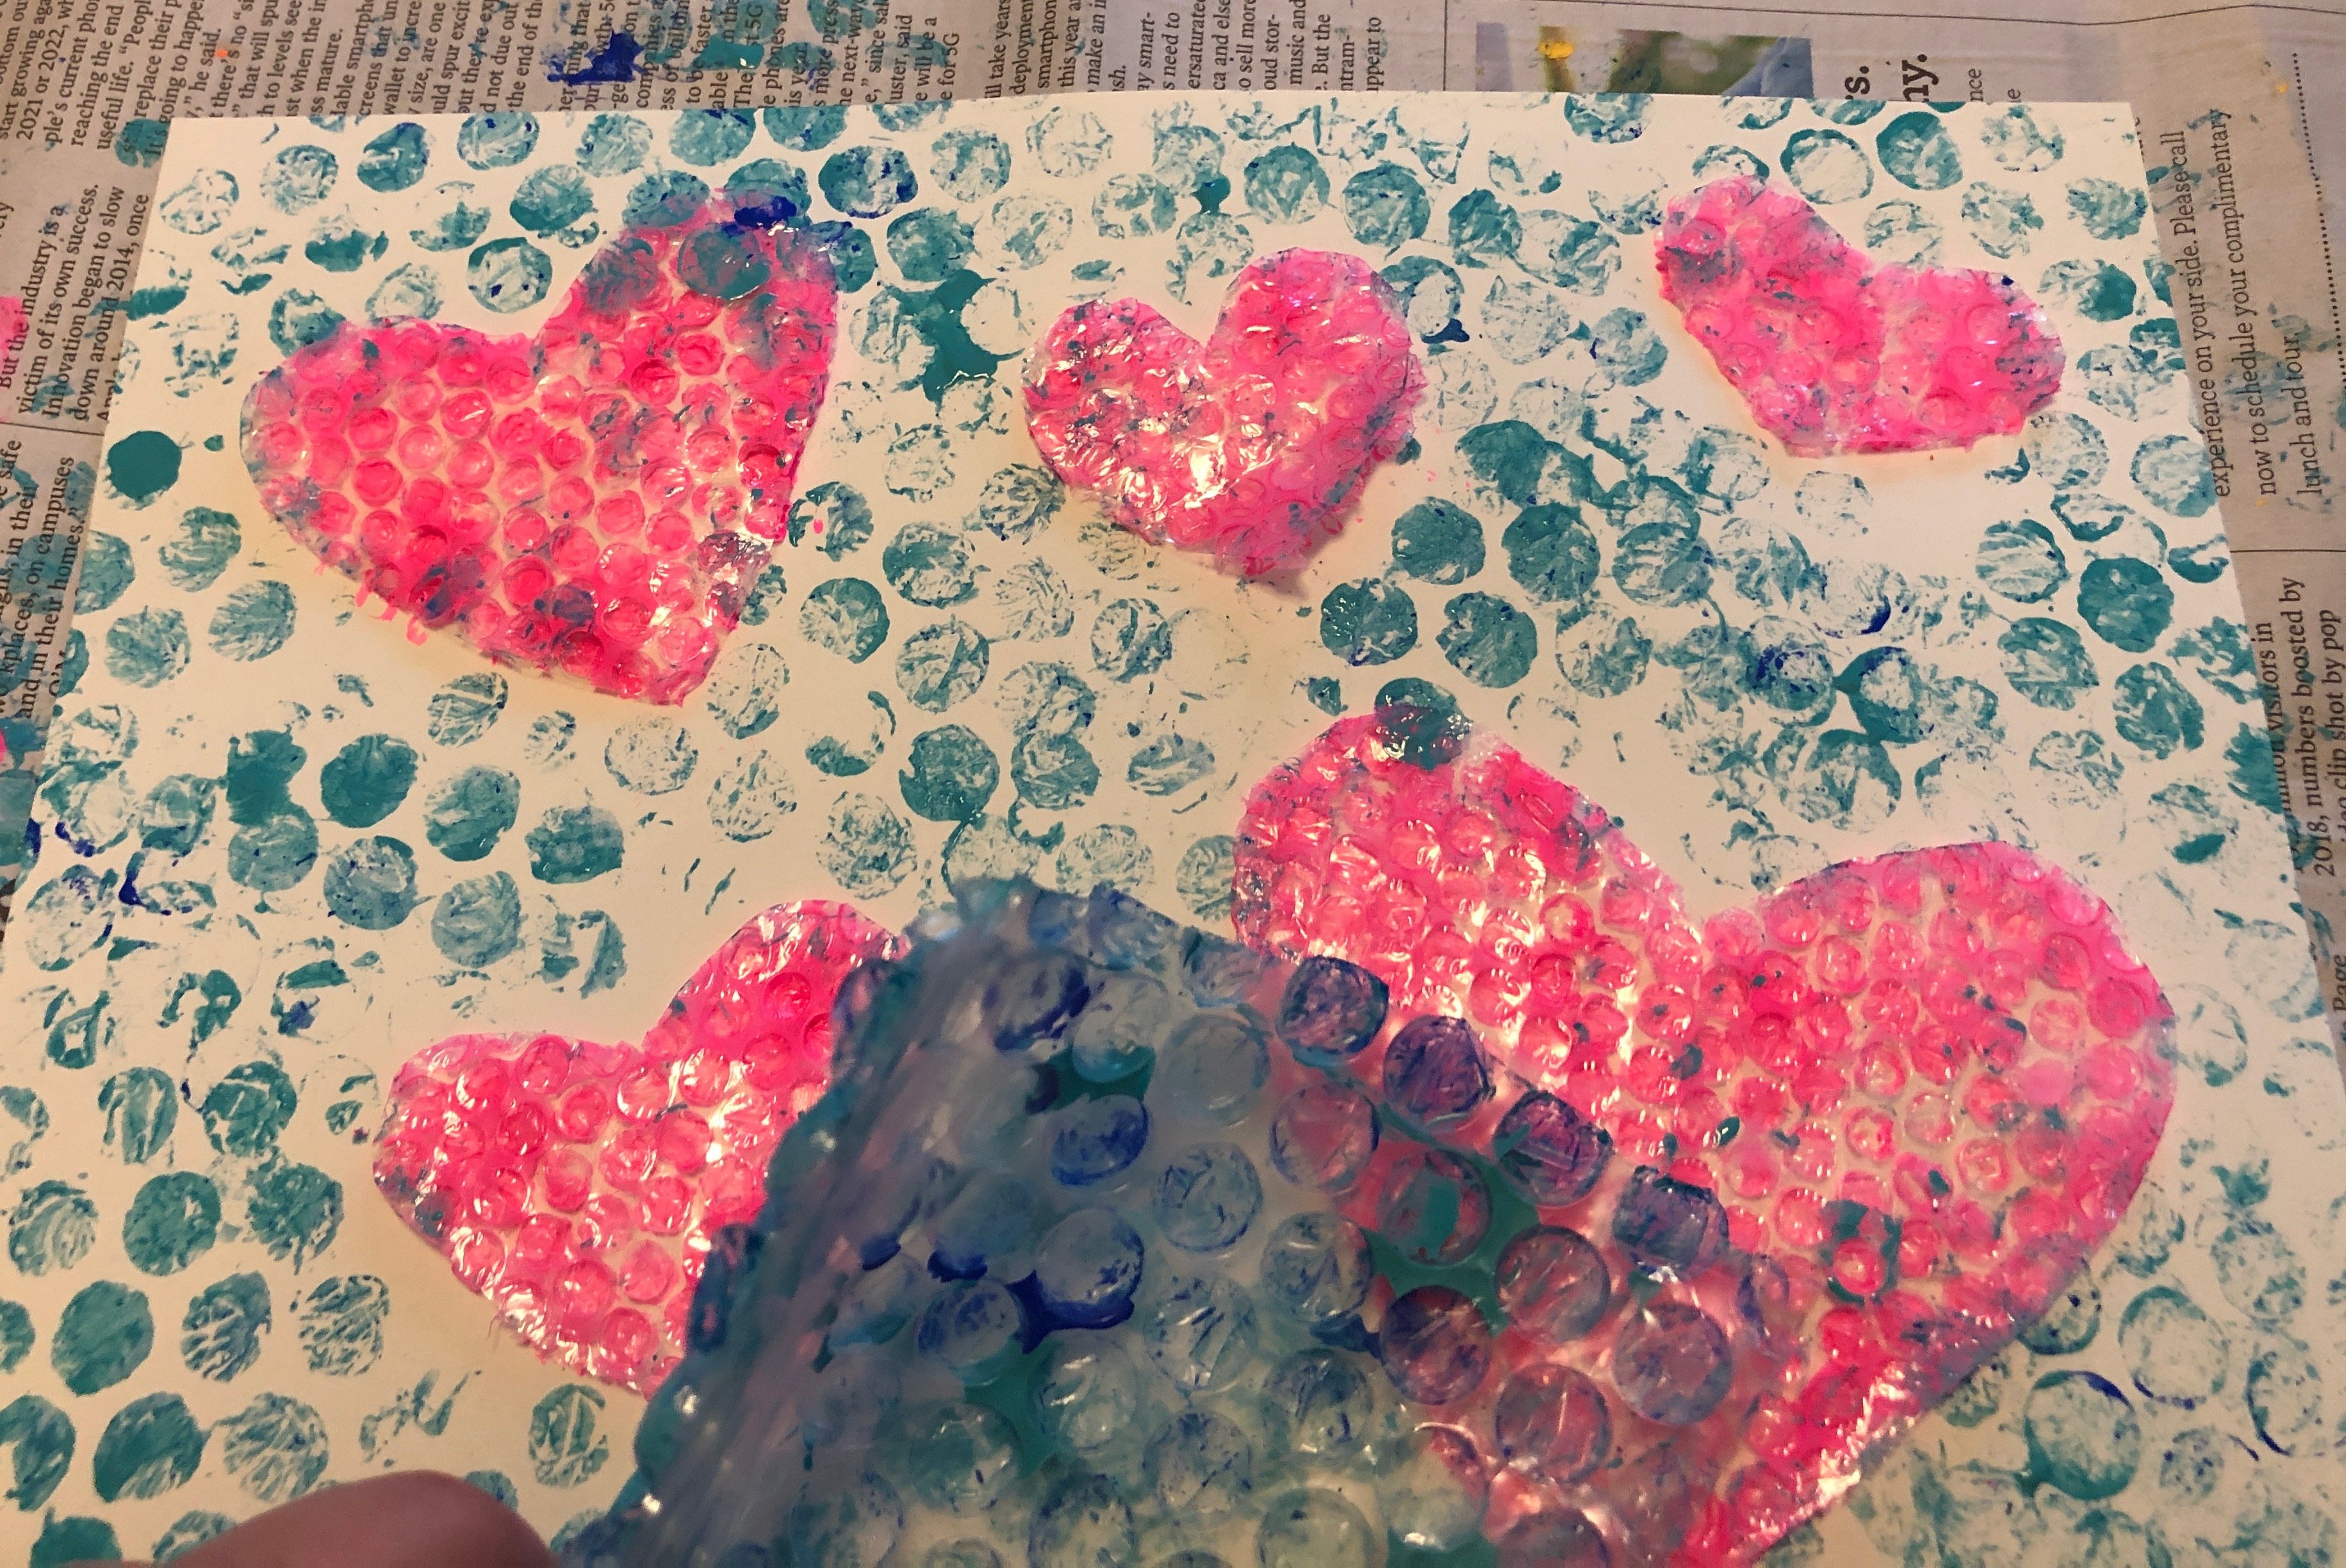
Using a paintbrush, paint your cut bubble wrap, then place the pieces on the paper. Press lightly so the paint sticks to the paper. Do not remove the shapes from your paper! Leave them right where they are!
4. Add a background
Paint a large piece of bubble wrap in a different color. Place the large piece of bubble wrap directly on the paper and over the bubble wrap shape. Press down so the paint adheres to the paper. Then remove both your background and shaped bubble wrap.
You can also use a smaller piece of bubble wrap as your background by dabbing one piece around the paper and then removing your shaped bubble wrap. This is a good way to add different colors to your painting.
No matter what way you do it, you'll want to do this step quickly so that the shaped bubble wrap doesn't start drying and stick to the paper.
5. Add embellishments
Once it's dried, let your kids use markers to add embellishments. They can add faces, trace around the shapes, or even add writing.
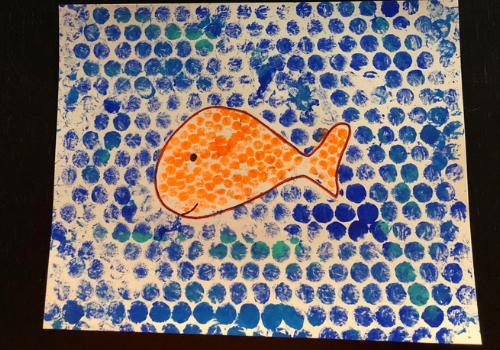 | 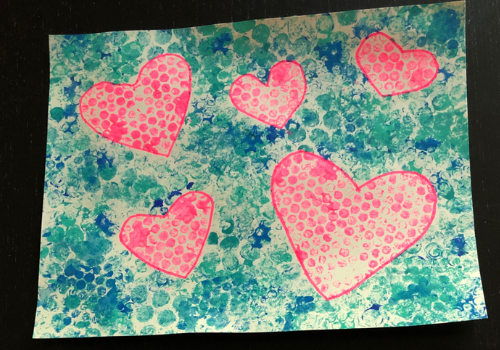 |
Now your masterpiece is done! Super simple, right? But so cute and fun for kids to do!
Happy crafting!
Other Articles You Might Like | ||
 | ||
Events in the Wilkes-Barre Areas | FREE Printables | Marie Kondo Your House |
Follow us on Facebook | Twitter | Instagram | Pinterest
Looking for more family-friendly events in the Wilkes-Barre and surrounding areas? Then you've come to the right place.
Subscribe to our FREE weekly email newsletter of events, crafts, recipes, giveaways, and more!
Don't forget to tell your friends! Thank you!!

